Resin · Guide
How to Mix Epoxy Resin for Beginners
A walkthrough of ratio, stirring, and the two-cup pour, plus the mistakes that leave a sticky or soft cure.
A sticky or soft pour is usually a mixing problem, not a bad bottle. The resin and hardener have to meet in the ratio on the label, and they have to be stirred until the streaks are gone. This is that walkthrough. It is not a brand ranking. Read the can in front of you; if the sheet and this page disagree, the sheet wins.
If you still need a kit, start with the beginner buying guide. If bubbles appear after a careful mix, that is a separate problem.
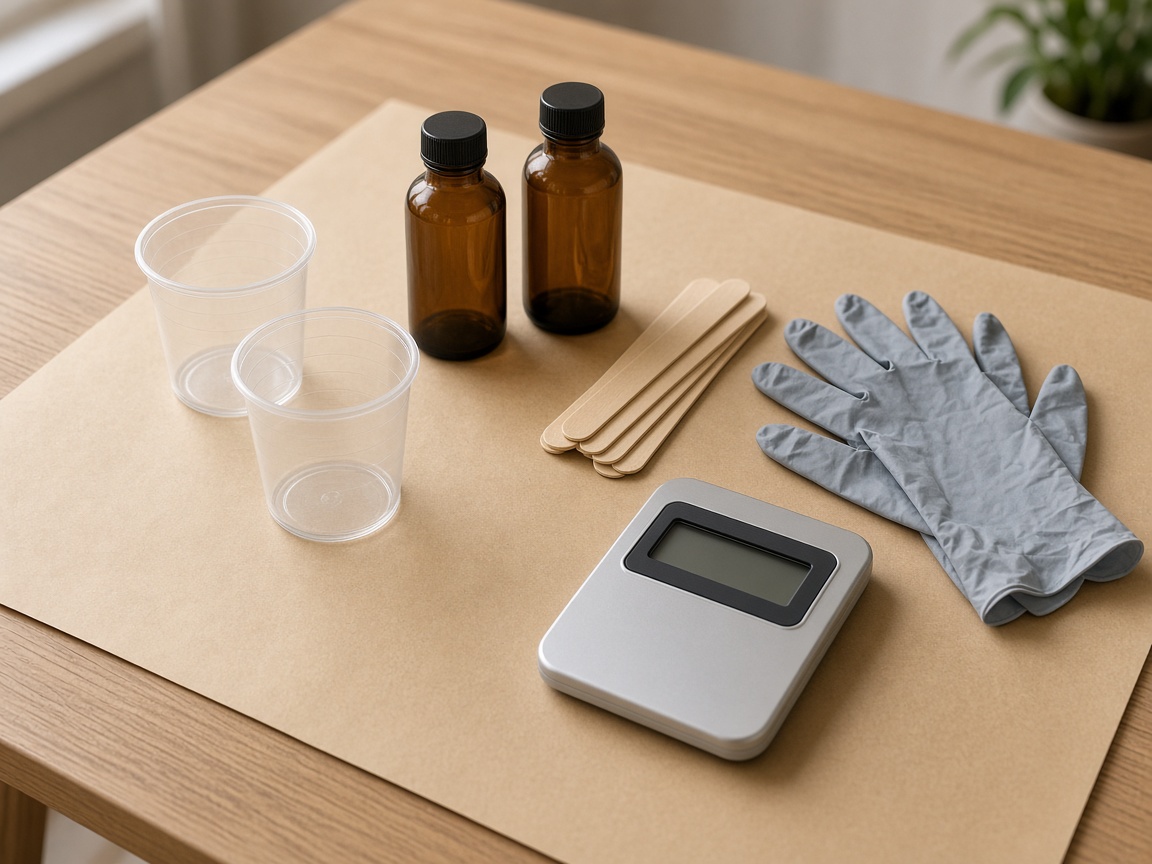
Read the ratio before you open the cups
The mix ratio is printed as numbers, and then as a unit. Both matter.
1:1 by volume is the usual beginner instruction. Equal marks in a graduated cup are enough, as long as you read the marks at eye level and you do not heap one side.
2:1 by volume means two parts resin to one part hardener, still in a cup. Do not flip that around.
A weight ratio, often written in grams, needs a scale. Cups marked in ounces will not convert it for you. If the label says weight, weigh it.
Part A and part B are not interchangeable. The thicker or cloudier bottle is not a hint that you can guess. The cap or the label names the part.
What belongs on the table
You need a way to measure, a way to stir, and a second cup for the pour. Gloves and a covered work surface come first, not last.
Tool
Graduated mixing cups
Clear marks let you measure a 1:1 or 2:1 volume mix without guessing. Buy a size you can actually read, and plan on two cups per pour.
Price: check Amazon. It changes with size, seller, and coupons. Castwick does not store a live price, star rating, or review count.
Amazon search: graduated resin mixing cups
View current listings on Amazon (opens in a new tab)Affiliate link. A qualifying purchase may earn Castwick a commission.
Tool
Digital scale
Required when the label gives the ratio in grams or says to mix by weight. A kitchen scale that reads in 0.1 gram increments is the usual craft tool. Volume marks do not replace it.
Price: check Amazon. It changes with size, seller, and coupons. Castwick does not store a live price, star rating, or review count.
Amazon search: digital scale grams for resin
View current listings on Amazon (opens in a new tab)Affiliate link. A qualifying purchase may earn Castwick a commission.
Tool
Mixing sticks
A flat stick reaches the corner where the cup wall meets the floor. That is the place unmixed resin hides. A narrow stirrer leaves a soft ring later.
Price: check Amazon. It changes with size, seller, and coupons. Castwick does not store a live price, star rating, or review count.
Amazon search: resin mixing sticks
View current listings on Amazon (opens in a new tab)Affiliate link. A qualifying purchase may earn Castwick a commission.
The mix, step by step
Warm the bottles only if the label allows it and the resin is thick from a cold room. A sealed bottle in a basin of warm water is the usual method. Do not microwave epoxy, and do not take it past what the maker printed.
Measure first, then combine. For a volume mix, pour Part A to the mark. Pour Part B to the total in a second measure, or add it to the same cup only if you can still see both marks clearly. For a weight mix, tare the cup, add the first part, tare or note the number, and add the second part to the gram target.
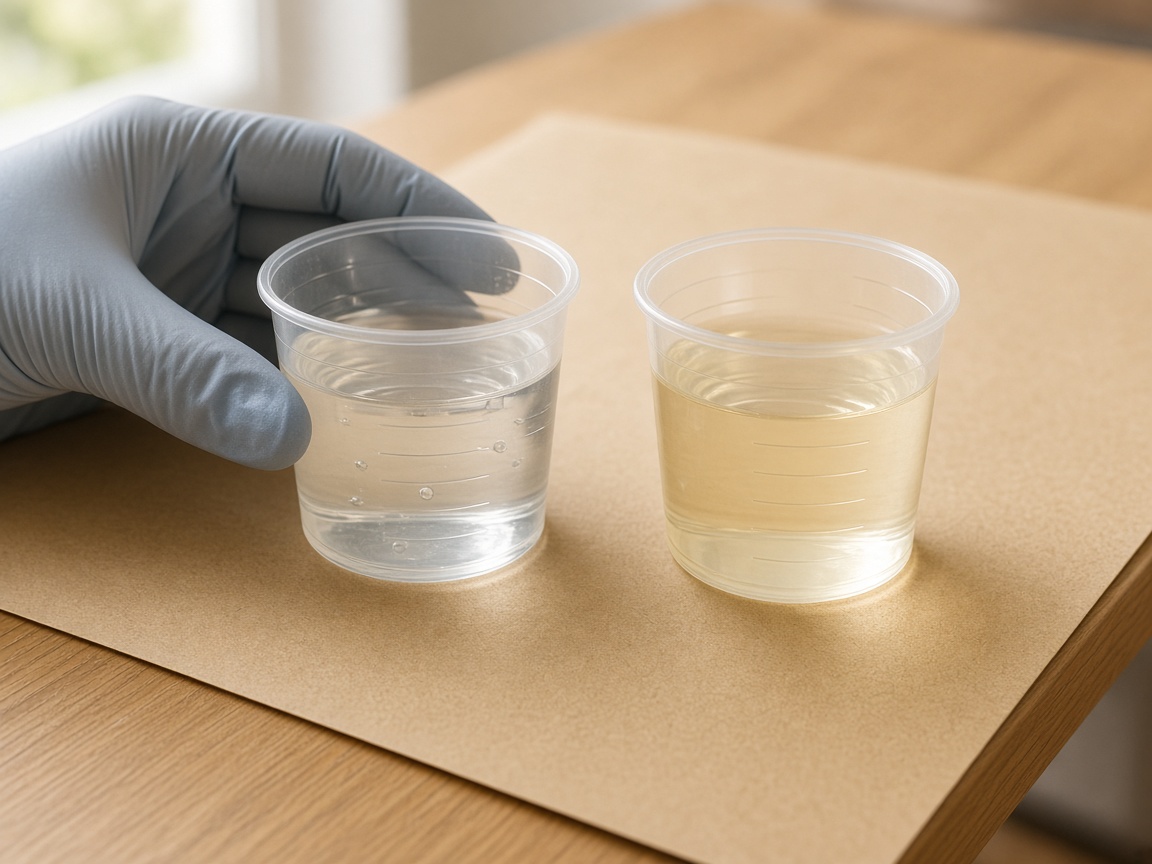
Stir slowly for the time on the label, often two to three minutes, sometimes longer. Scrape the walls and the floor of the cup as you go. The mix is ready when it looks even, not when the clock has merely run. Streaks of unmixed resin will show as sticky or soft spots after the cure.
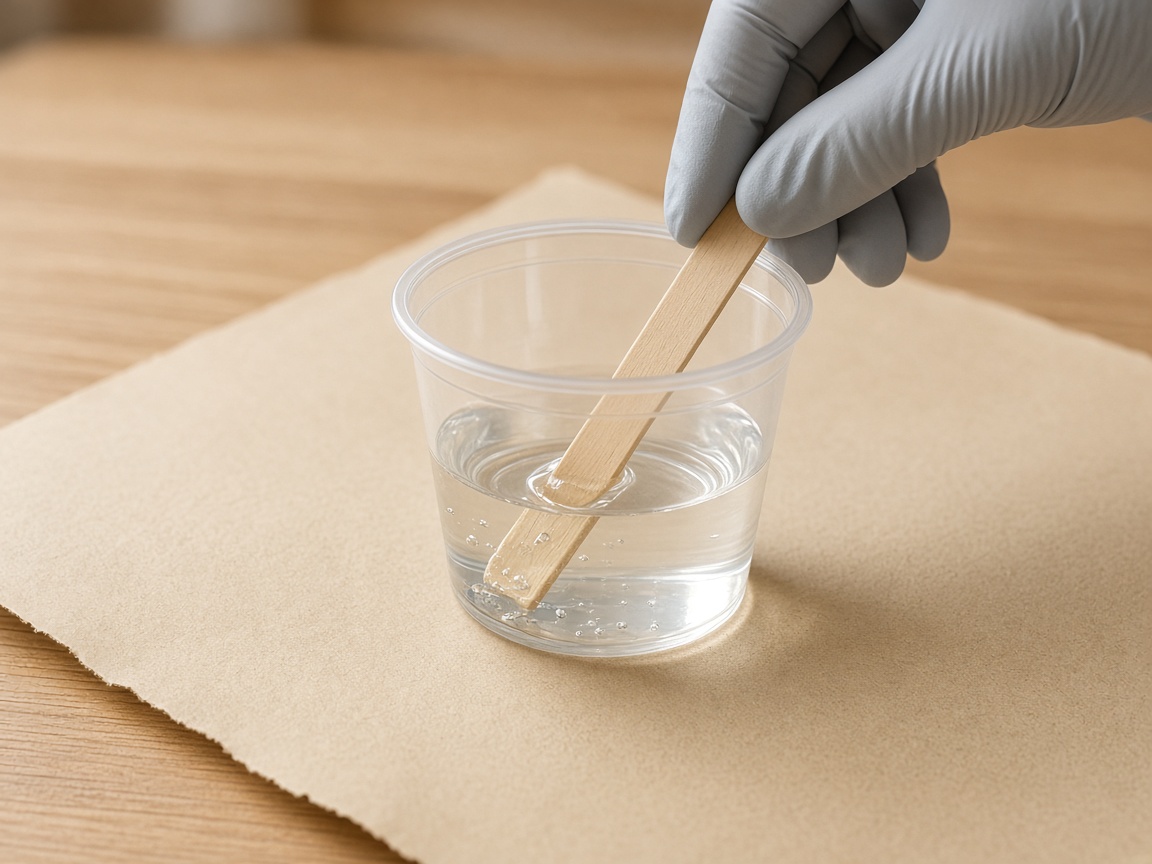
Move the mix into a second clean cup and stir again for about a minute. That transfer leaves the unmixed film on the first cup behind. Then pour from the second cup into the mold. Pouring from the same cup you measured in is the usual way a careful stir still fails.
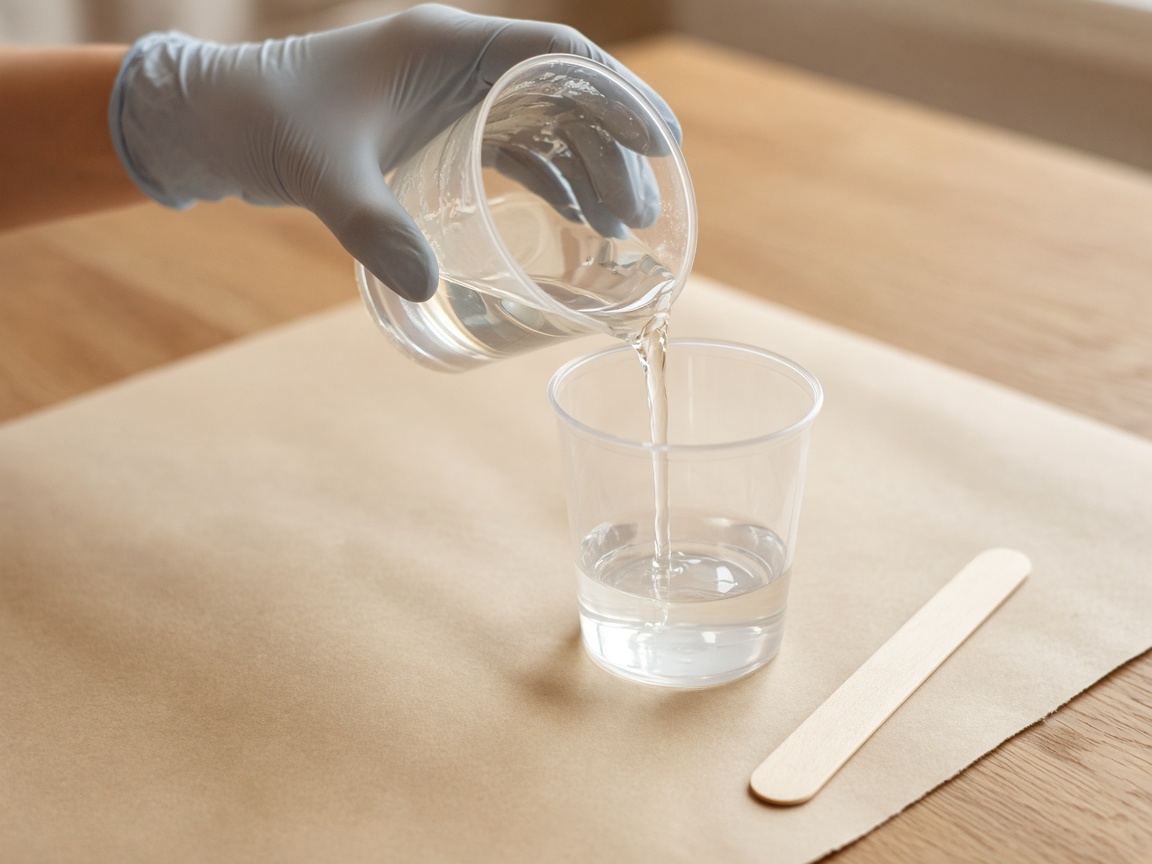
Do not whip air into the mix. A slow fold is enough. Fast stirring makes bubbles you will then have to chase.
Pot life is a clock, not a mood
Pot life is the working time in the cup after the two parts meet. It is shorter in a warm room, and shorter when you mix a large amount at once, because the reaction makes its own heat. A deep cup of mixed resin can gel in the cup before you finish the pour.
Mix only what the project needs, plus a little for the cup walls. If the maker publishes a pot life, treat it as a limit, not a suggestion. When the mix thickens or warms suddenly, stop and let that batch go. Do not try to thin a kicking cup with more resin or with a solvent.
The mistakes that leave a tacky cure
Eyeballing the pour. A “looks even” split is not a ratio.
Mixing volume as if it were weight, or the other way around. The units on the label decide the tool.
A short stir that never reaches the corners. The center of the cup can look clear while a ring of Part A still sits on the wall.
Skipping the second cup. The first cup keeps a film of unmixed material. The last of the pour often comes from that film.
A cold shop. Thick resin does not combine well, and it holds bubbles. If the room or the bottles are cold, warm the space or the sealed bottles first, within the label.
Too much at once, or too deep for the formula. A coating epoxy mixed in a large mass can overheat. That is a depth and volume problem, covered in the buying guide; mixing will not fix the wrong product.
A piece that is slightly tacky after the published cure time is sometimes humidity, a cold room, or a pour that was still under-mixed. Give it the full cure window in a warmer, drier room before you sand or recast. If it stays soft, scraping it out and starting over is usually cleaner than pouring a new coat over a wet layer.
After it is in the mold
Once the mix is in the mold, leave it. A heat gun is for surface bubbles, in short passes, not for forcing a thick or cold pour to behave. That technique belongs in the bubble guide. Demold only when the label’s demold time has passed. Full hardness comes later; a piece that leaves the mold can still fingerprint.
If a cured piece later ambers, that is aging and light, not this mix. See why resin yellows.
A short shopping list, not a kit review
The cups, the scale, and the sticks above are the measuring tools. A beginner epoxy itself is chosen by ratio, pour depth, and kit size, not by a mix tutorial. Use the buying guide for the can, and the coaster kit guide if the first project is a set of coasters.
Safety
Nitrile gloves
A disposable nitrile pair is the usual barrier for measuring and pouring. Vinyl tears more easily; bare hands are not a workaround.
Price: check Amazon. It changes with size, seller, and coupons. Castwick does not store a live price, star rating, or review count.
Amazon search: nitrile gloves for resin crafts
View current listings on Amazon (opens in a new tab)Affiliate link. A qualifying purchase may earn Castwick a commission.
Listings change. Castwick has not lab-tested these tools. The Amazon links are searches, tagged for Associates, and the current offers on the results page are the ones that matter.