Resin · Guide
Why Epoxy Resin Stays Sticky or Tacky (and How to Fix It)
How to tell a tacky surface from a failed cure, what usually causes sticky epoxy, and when to wait, wipe, or scrape the pour out and start over.
A piece that is still tacky after the time on the bottle is one of two problems. Either the cure is still running, and it needs a warmer, drier wait, or the mix never had a chance to finish, and no amount of waiting will harden it. This page is how to tell those apart, and what to do next. If the sheet that came with your kit disagrees with a step here, the sheet wins.
A sticky pour is often a mixing problem. If you have not yet worked through ratio, stirring, and the two-cup transfer, start with How to Mix Epoxy Resin for Beginners.
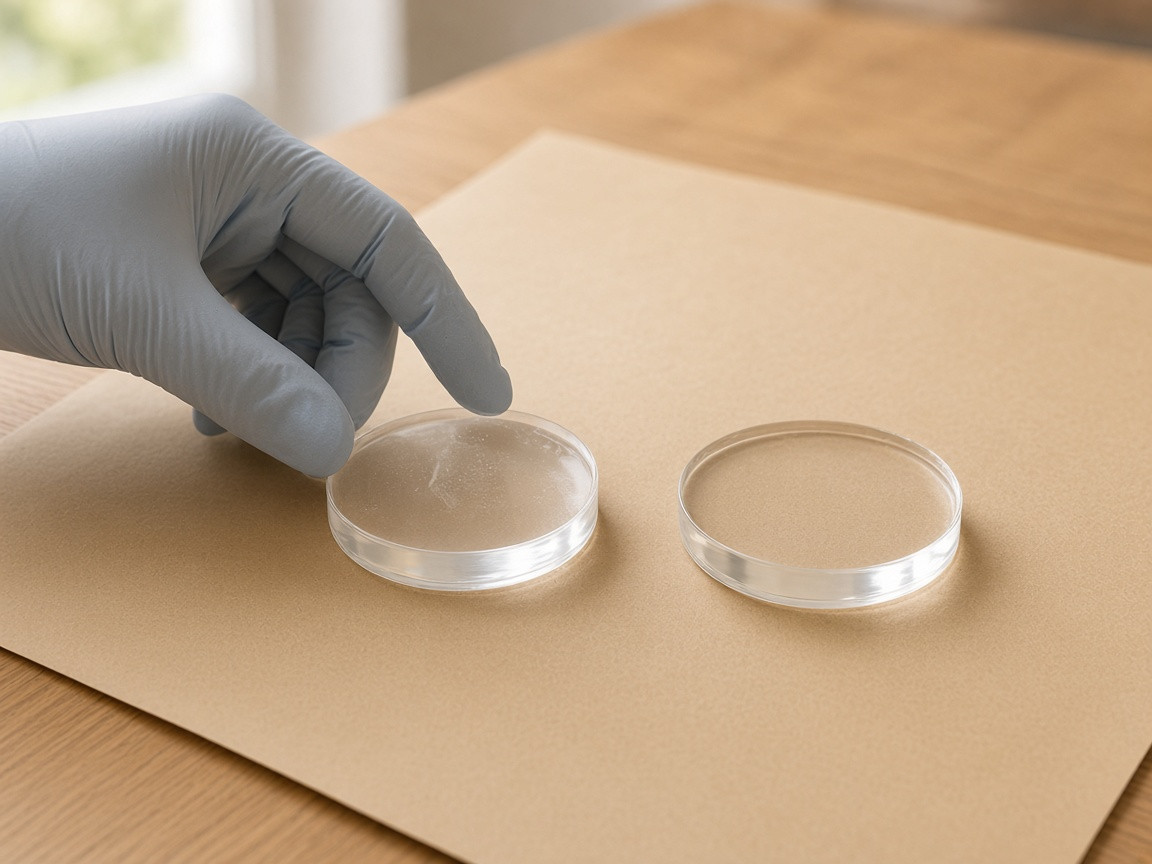
Wait for the published cure, in the right room
Cure time is a window, not a feeling. Many beginner epoxies ask for 24 hours before a careful demold, and longer before the piece is hard enough to sand or use. Some coating resins take 72 hours, or a week, to reach full hardness. A fingerprint after four hours is not a diagnosis.
The room matters as much as the clock. Most craft epoxies want something close to 70–75°F (21–24°C). A cold garage or a pour left near an air conditioner can stall. High humidity can leave a greasy or waxy film on the surface even when the mass underneath is curing. Give the piece the full published time in a reasonably warm, dry room before you decide it has failed.
Do not add more hardener to a cup that is already mixed. That changes the ratio again, and it will not rescue a sticky pour.
Three different kinds of “still sticky”
A slightly tacky surface, firm underneath. After the published time, the piece holds its shape, but a gloved finger leaves a faint print or a little drag. This is the case most worth waiting on, especially if the room was cool or damp. Move it to a warmer, drier spot and give it more hours, often another day.
A soft, gummy, or flexible mass. The piece sags, a stick sinks in, or the whole pour feels like soft candy. That is usually a ratio or mixing failure, not a slow room. Waiting rarely fixes it. Scraping it out and starting over is the clean path.
A slick, greasy, or waxy film on an otherwise hard piece. Some epoxies, in humid air, form a surface film often called amine blush. The body of the piece can be firm. The film is not the same as an under-cured mix. It usually wipes off with isopropyl alcohol once the published cure has passed, then you can sand or add a thin flood coat if the label allows it.
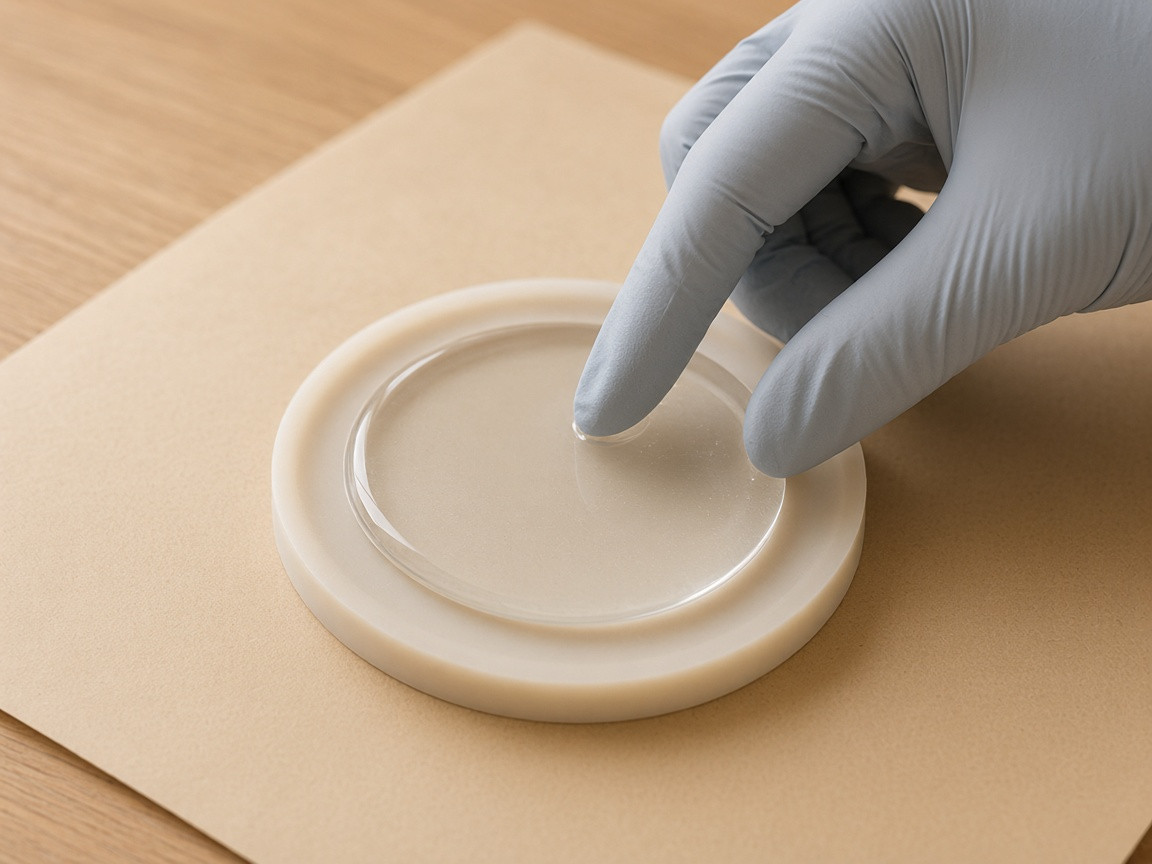
UV resin has its own version of a tacky surface. If the pour did not see enough light, or was too thick for the lamp, the mass can stay soft. Even a well-lit thin pour can feel slightly tacky on the skin that was exposed to air; that is a known oxygen effect with some formulas. Cure from both sides when you can, keep the layer within the depth on the bottle, and use a lamp at the wavelength the maker names. See the UV resin jewelry kit guide for the lamp and the thin-pour limits.
What usually causes a failed cure
The mix was short or uneven. Streaks left on the cup wall, a stir that never reached the floor, or skipping the second cup all leave pockets of unmixed resin. Those pockets stay sticky. This is the most common cause, and it is covered in detail in the mixing guide.
The ratio was guessed. A “looks even” split, or treating a weight ratio as a volume ratio, will not cure correctly. The units on the label decide the tool.
The room or the bottles were cold. Thick, cold resin does not combine well. The reaction also runs slower, so a pour that would have been firm in a warm room can still be tacky the next morning.
Too much colorant. A heavy load of alcohol ink, mica, or a paint that was not made for resin can slow or stop the cure. If the sticky piece was a first colored pour, that is a suspect. The coloring guide covers how little to add.
The wrong depth for the formula. A coating epoxy poured in a deep mold can overheat, or cure poorly in the middle. A deep-pour formula spread in a very thin film can stay tacky. The buying guide is where that choice belongs.
Old or poorly stored hardener. Hardener that has sat open, been overheated, or is well past the date on the bottle can fail to react. If several careful mixes from the same pair of bottles all stay soft, the material is the suspect, not your stirring.
What you can try, and what you should not
If the piece is only slightly tacky and the underside feels firm, wait first. A warmer room, away from a damp basement or a cold window, is the usual next step. Do not sand a still-wet surface, and do not pour a fresh coat over a layer that is still soft. The new coat will not harden the one underneath.
If you have a hard piece with a greasy film, wait until the published cure has passed, then wipe with isopropyl alcohol on a lint-free cloth. Wear gloves. Let the alcohol flash off. If the surface underneath is truly hard, you can sand and, if you want a gloss, add a thin top coat mixed with the same care as the first pour.
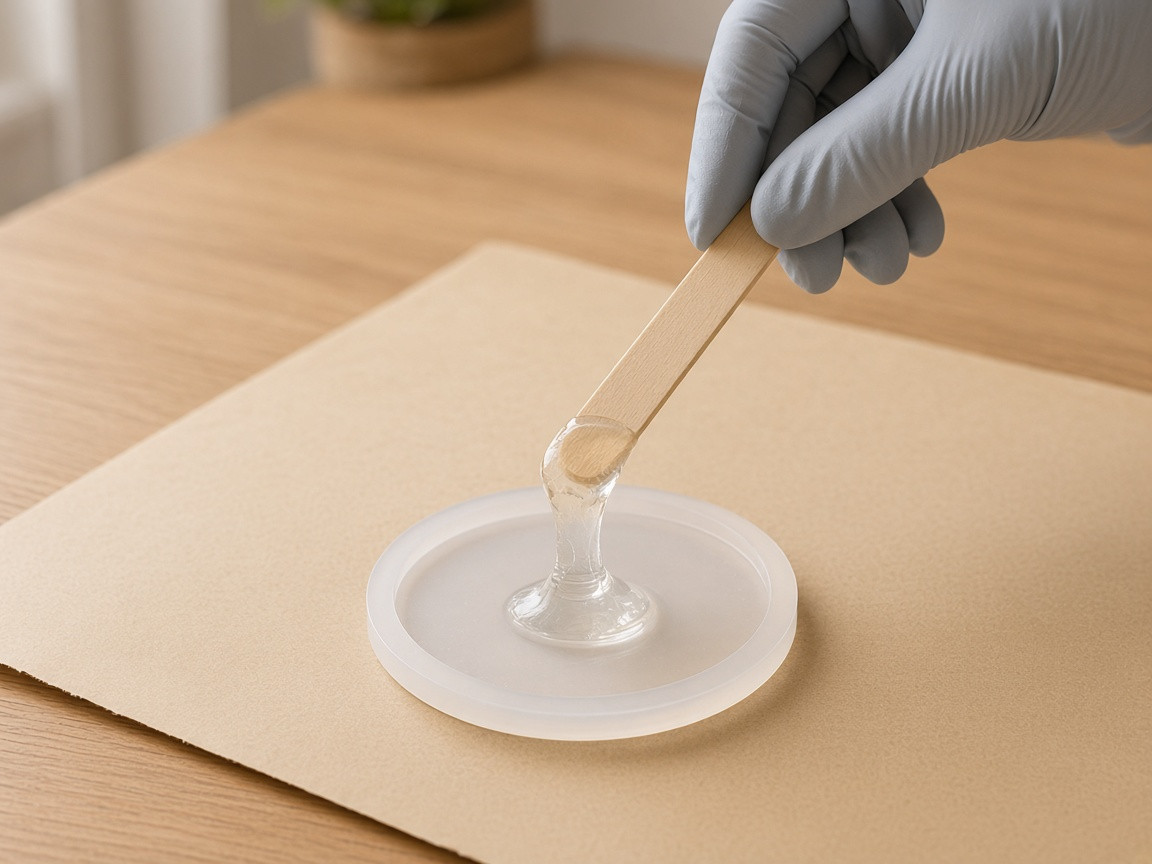
If the mass is soft or gummy, stop hoping. Demold if you can, or scrape the failed pour out of the mold with a stick. Do not put failed epoxy down the sink. Let the scrap cure in a disposable cup if it will, then throw it out with household trash, following the sheet that came with the kit.
A heat gun is not a cure oven. Short passes can pop surface bubbles, as in the bubble guide. Holding heat on a sticky pour to “force it” can yellow the piece, wrinkle the surface, or leave the inside soft. A toaster oven or a microwave is not a workaround.
Adding more hardener, thinning with solvent, or stirring in a new batch on top of a wet one will not repair the ratio you already poured.
When a top coat is worth it
A top coat only makes sense on a piece that is already hard. If a cured surface is dull, slightly uneven, or had a blush you have already wiped off, a thin flood coat of a coating epoxy can level it. Mix a fresh, correctly measured batch, pour a thin layer, and leave it. If the first pour is still soft, a second layer is just a thicker problem.
Prevention is almost all in the mix
Measure by the units on the label. Stir slowly, scraping the walls and the floor, for the time the maker printed, then transfer into a second clean cup and stir again. Mix only what the project needs. Warm a cold room, or a sealed bottle in a basin of warm water if the label allows it, before you measure. Keep color modest, and test a small cup before you tint a whole kit.
Tool
Graduated mixing cups
Clear marks make a 1:1 or 2:1 volume mix harder to guess, which is the usual reason a pour stays soft. Plan on two cups so you can transfer the mix.
Price: check Amazon. It changes with size, seller, and coupons. Castwick does not store a live price, star rating, or review count.
Amazon search: graduated resin mixing cups
View current listings on Amazon (opens in a new tab)Affiliate link. A qualifying purchase may earn Castwick a commission.
Tool
Mixing sticks
A flat stick reaches the corner where the cup wall meets the floor. Unmixed resin hides there and shows up later as a tacky ring or a soft spot.
Price: check Amazon. It changes with size, seller, and coupons. Castwick does not store a live price, star rating, or review count.
Amazon search: resin mixing sticks
View current listings on Amazon (opens in a new tab)Affiliate link. A qualifying purchase may earn Castwick a commission.
Supply
Isopropyl alcohol
Use it to wipe a greasy blush film from a piece that is already hard, then let it flash off. It is not a thinner for a wet, failed mix, and it will not rescue a gummy pour.
Price: check Amazon. It changes with size, seller, and coupons. Castwick does not store a live price, star rating, or review count.
Amazon search: isopropyl alcohol 91 percent
View current listings on Amazon (opens in a new tab)Affiliate link. A qualifying purchase may earn Castwick a commission.
Safety
Nitrile gloves
A disposable nitrile pair is the usual barrier for a tacky surface or a scrap-out. Bare hands are not a workaround, and a still-soft pour is messier than a clean mix.
Price: check Amazon. It changes with size, seller, and coupons. Castwick does not store a live price, star rating, or review count.
Amazon search: nitrile gloves for resin crafts
View current listings on Amazon (opens in a new tab)Affiliate link. A qualifying purchase may earn Castwick a commission.
Listings change. Castwick has not lab-tested these supplies. The Amazon links are searches, tagged for Associates, and the current offers on the results page are the ones that matter.